‹
previous image
return to album
next image
›
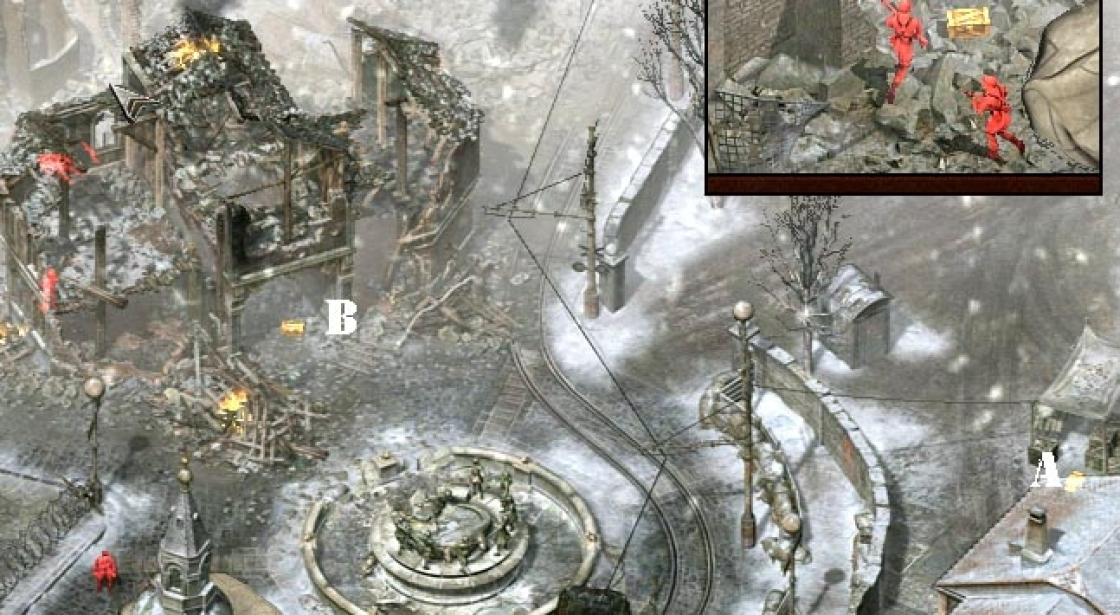
part1_2.jpg
Powered by
Weatimages

